Wednesday, March 25, 2015

Preschool Song Cube

I consider myself a very creative person, and working with 2 and 3 year olds every day makes my creativity soar!! being trapped inside for days on end due to weather/temperature inspires me to come up with new and fun ways to make it to the end of the day. my latest creation: THE SONG CUBE. Purpose: the children roll the cube to determine what song we will sing,.

 I found that every day at afternoon circle time we were always going through the same songs, day in, day out. So, I decided to find a way to make the song choosing more interactive for the kids. if I can create something that they want to do (ie. rolling the song cube) then I will have more of their attention. my husband had wooden cubes he was using as dice for students he works with, he had a few extra so I commandeered them for my purposes.

SONG CUBE STEP BY STEP PROCESS:

MATERIALS

- 1x1 in. wooden cube (as many cubes as you desire)
my pictures are ready to go!
-  6 pictures/illustrations for your songs
- decoupage glue, I used modge podge
- paintbrush for modge podge

1. PICTURES ON CUBES:
my for pictures I used clip art I found either on Microsoft Word, or images I pulled from the internet. once you've for your images in a Word document, use the sizing tools to make the picture 1x1 inch.

2. PRINT PICTURES, CUT THEM OUT

3. APPLY IMAGES TO CUBE using modge podge. I found that it works best to wait until the ink is completely dry, otherwise the images will smear

4. USE CUBES IN YOUR CLASSROOM!
have children take turns rolling the cube to choose a song!


1x1 inch cube


FINISHED PRODUCT


ALL DONE HERE!
SING YOUR HEART OUT!

Sunday, November 10, 2013

Superhero Collage For The Man Cave

this year for my brother's birthday I decided to put my crafty skills to good use and make him an awesome collage! the inspiration behind this project is the new "man cave" (of "dude room" as my sister in law prefers to call it) at my brother's house which has a superhero motif. the cost of this project was super-low considering I already had most of the materials in my craft stash and because the superhero pictures came from dollar store calendars. my total was around $4.

MATERIALS:
  • 2 Superhero calendars from the dollar store; one Spiderman, one Marvel Heroes; same project could be done with princesses (dollar store also has Disney princess calendars)
  • modge podge/brush for application
  • canvas-- I used 16x20
  • newspaper for background
  • scissors
STEPS:
  1. the first thing I did was look at the calendars and determine what pictures I was going to use for the collage
  2. cut up newspaper and use modge podge to apply as background of collage
  3. while the newsprint background was drying, I spent a long time laying out the pictures and deciding where I wanted them to go on the canvas.
  4. use the modge podge again and begin to place the pictures. because I cut around the pictures and used so many I decoupaged in layers to get everything where I wanted it to be.
that's really all there is to it. what I also did was take pictures of my nephew posing as a superhero. I uploaded the pics to my computer and tinted them in complimentary colors to the calendars.

                                                               MATERIALS

SPIDERMAN CALENDAR CLOSE UP


 THE FINISHED PRODUCT!


Thursday, September 19, 2013

Double-sided Titanic Lapbook

I took a class this summer called Educating Towards a Global Perspective, basically a Social Studies methods teaching course. I've already graduated college w/ a degree and teacher certification, but had to take a class to get my certification reactivated. anyway... the class was great! one of our assignments was to create a lapbook of a social studies topic of our choosing. I decided to go with a Titanic book b/c I find it a fascination topic and I know kids like it too.

I began searching Titanic on Teachers Pay Teachers, a great teacher resource. while I found some helpful information there, I found most of my information from other sources, mainly homeschooling blogs/websites. the best sites are the links listed below.

RESOURCES-
if links don't work, cut and paste in browser

1. Dynamic 2 Moms
this site has documents downloadable in a PDF format.
http://www.dynamic2moms.com/rmstitanic.htm


2. This Adventure Life
another homeschool site. this one has 23 minibooks downloadable in a PDF file. GREAT resource! the documents have hyperlinks to take you to a website where the information for the minibooks can be found.
https://thisadventurelife.wordpress.com/our-lapbooks/titanic-100th-anniversary-lapbook/

3. My Pinterest Board
this is a link to the pinterest board where I pinned stuff I wanted to use. used some of this, not all.
http://pinterest.com/twinzilla/ss-methods-class/

4. Eyewitness Titanic Book
this book comes with a disc of clip art/photos used in the book. very detailed and informative book

5. IMDB Titanic Page
IMDB has all kinds of info about the movie including cast, trivia, quotes, goofs.. etc..
http://www.imdb.com/title/tt0120338/?ref_=sr_1

 6. My Heart Will Go On- Wikipedia
http://en.wikipedia.org/wiki/My_Heart_Will_Go_On

CONSTRUCTION/materials needed:
- 2 file folders (open folder, fold inward toward crease)
- cardstock
- glue stick & hot glue gun/gluesticks
- hole punch
- scissors
- other crafty stuff


PICTURES- SIDE 1 Titanic Facts/Data
*all information/material is manipulative


SIDE 1- TITANIC STATS & FACTS
Materials: construction paper Titanic
 
Side 1


MIDDLE SECTION
Impressive Statistics (ship data)
Timeline of Events after crash
A to Z Titanic book (made this on my own, no pattern)
 
TOP SECTION
Titanic Voyage-map of route
1st/2nd/3rd Class-description of accomodations
Titanic Facts: book of facts

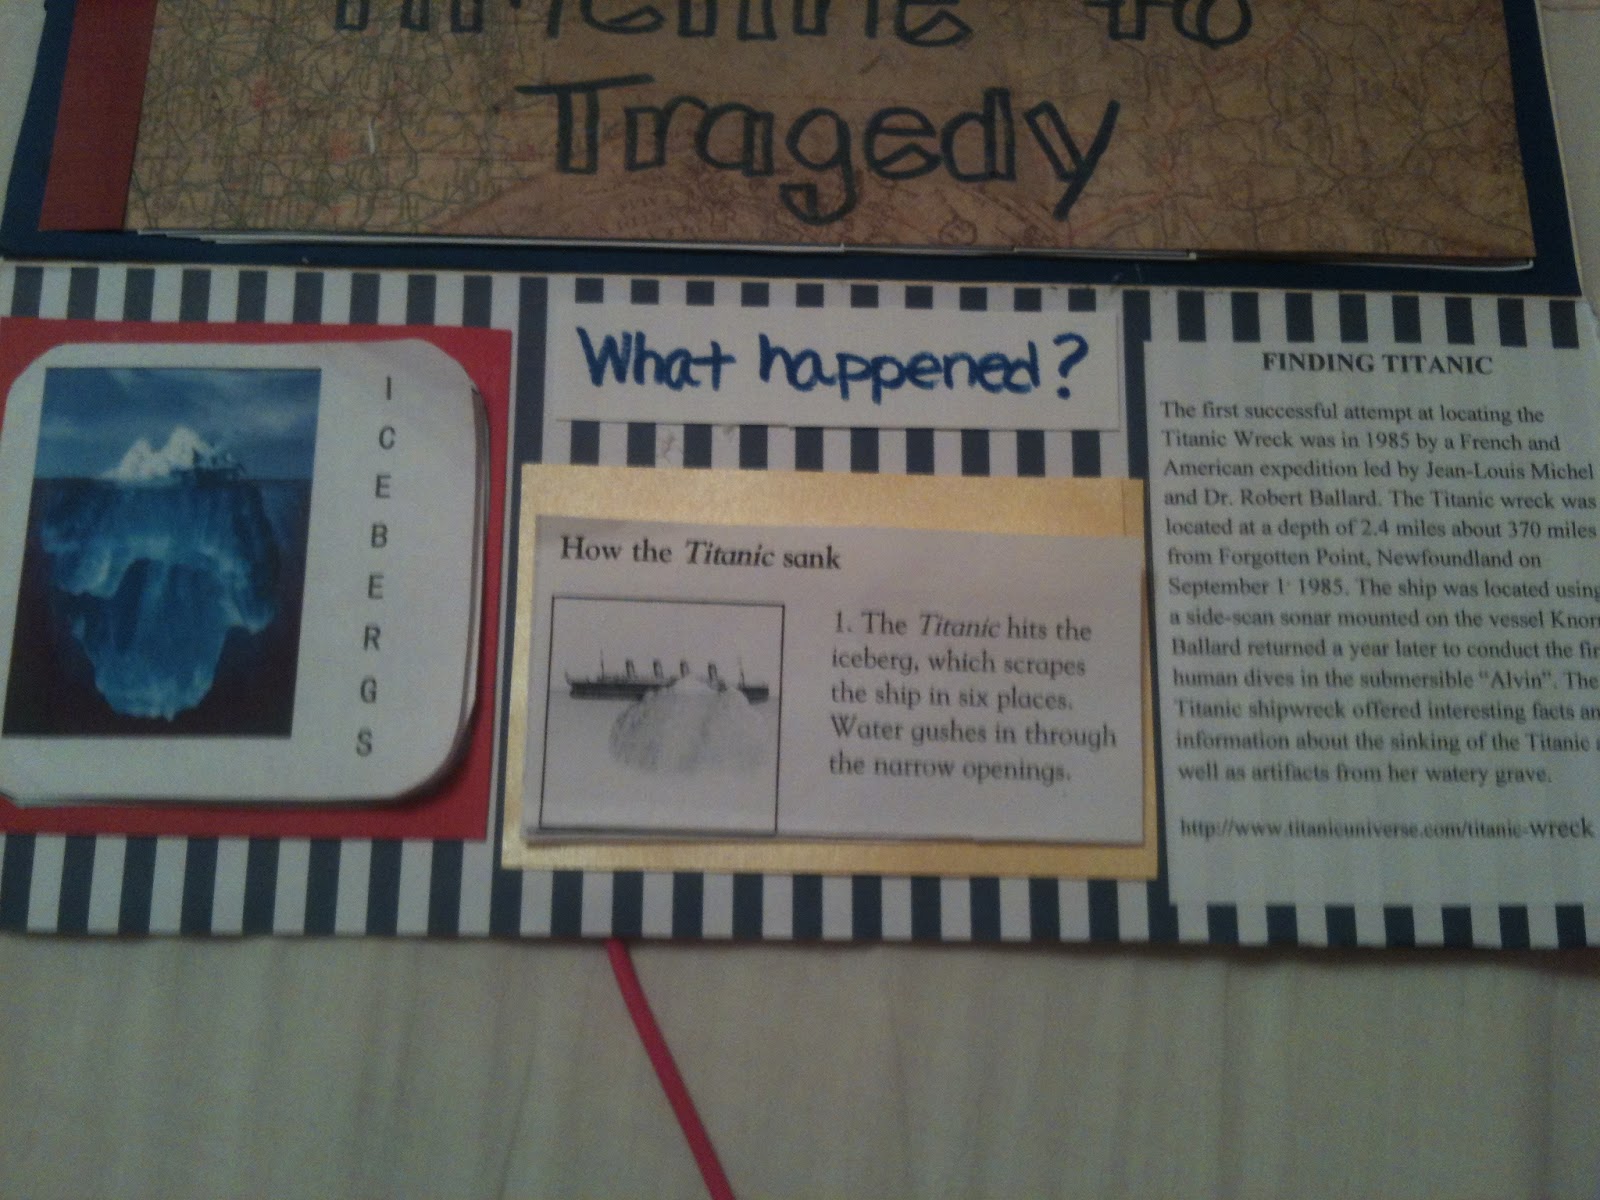
BOTTOM SECTION: What happened?
Icebergs booklet-from minibook site download
How Titanic Sank- I copied this from a book
Titanic Discovery-discovery of wreckage in 1985


SIDE 2- MULTIMEDIA TITANIC
materials: scrapbook paper + printed "My Heart Will Go On" sheet music


OVERVIEW OF TOP/BOTTOM SECTION
 
 
TOP SECTION
Predicting the Tragedy- Eyewitness Titanic
On Broadway- Musicals about Titanic (looked up info online)
Sources: this is where I listed the sources I used


MIDDLE SECTION- MOVIE TRIVIA
Hope Diamond/Heart of the Ocean
(the Heart of The Ocean necklace in the movie lead some people believed that the Hope Diamond on board the Titanic. it was not, the Hope Diamond is at the Smithsonian).
Movie Trivia-IMDB
My Heart Will Go On- Wikipedia


BOTTOM SECTION- TITANIC LITERATURE
one source I found had all these listed, I cut them out and glued 'em down.
 
 
THERE YOU HAVE IT, AN AWESOME, DOUBLE-SIDED LAPBOOK. MY TEACHER SAID THIS WAS "WONDERFUL, THE BEST I'VE EVER SEEN!"
 
ENJOY!!
 

Thursday, July 25, 2013

Rocking Chair Redo: A Rockin' Renovation

I was driving home the other night and saw this chair on the curb for my neighborhood's junk pickup day, I needed to breathe new life into it and make it a chair for my niece. when I got the chair there was an arm missing so I decided to go ahead and remove the other arm.

once I had a plan I went to Lowe's to get some spray-paint (I like Valspar) and then to Joann's to get a doily. I was ready to go!

Materials needed:
- spray paint
- doily
- drop cloth (I learned my lesson after I turned my driveway multiple colors with previous projects)

STEPS:
1. after laying out the drop cloth, spray the chair with a coat of white spray paint for a base coat

2. once the white is dry, use your main color (mine was a lovely blue) and spray the chair.

3. I used a lace doily (a real one, about $4 from Joann's) to create the effect on the seat of the chair. while the chair was white I placed the doily on the seat and sprayed the blue paint over it. once dry, remove the doily and you have a lovely effect.

4. I finished with a clear coat of acrylic spray.
 
 
Before
 
 
After a base coat of white spray paint


The finished product. the lighting's kind of crappy, sorry about that.
 
Up close shot of the seat. it's not super exciting but it's prettier than a solid color.


Sunday, June 23, 2013

Rainbow Crackle Manicure

I get really annoyed when I see a cool manicure pin on Pinterest and I click on the picture and there is no link to show me any sort of tutorial on how to accomplish that look. to avoid anyone else's annoyance I will provide a quick tutorial of how I achieved my rainbow crackle manicure.

1. I obviously used a rainbow theme for my colors, you can use any colors.
   Pink: Orly, Va Va Voom
   Orange: Sinful, Cloud 9
   Green: Sally Hansen, Glass Slipper
   Blue: Sinful Shine, Alfresco
   Purple: Nina, Punki Purple
   Black: Fingerpaint, Black Scales.


2. My picture on the left is crappy, but... use a small stripe of each color to pain the rainbow on your nail. any order will do. the way I did mine was to do all one color at one time, for example I'd do the pink (far left) on all nails and then come back and do the next. by the time I'd done all one the nail would be dry enough for the next color.

3. Once your base colors are dry add your black crackle. I like to put black crackle on the tips as well because it drives me nuts if its not covered with polish.

4. add your top coat (duh!).


Voila! you have rainbow nails! be like the Rainbow Fish and share your scales!


Thursday, May 9, 2013

Mother's Day Project

Last year I made an awesome project for Mother's Day, using a deck of cards I created the "52 Reasons Our Mom Is The Best" gift. I got the idea from a pin I'd pinned awhile ago on Pinterest. instead of a creating a lovey-dovey, sappy gift for a significant other that I don't have, I made a memorable gift my mom will (hopefully) treasure forever.

MATERIALS
- 1 deck of cards
- Glue
- Pictures/items for individual cards

STEPS
  1. Get a deck of cards. any cards will do, you can choose a plainer/typical card pattern or go for something fancy. my sister and collect decks of cards so we had quite a variety of cards to choose from. the cards I chose are from Prague (I think), there deck is not a typical deck in terms of Kings, Queens, Jacks and Aces, so it wouldn't be missed. and the design was cute.
  2. create a list of 52 things.  I didn't want to worry about handwriting mistakes so I typed all mine out in advance.  when I glued the items on I didn't completely cover the card, I liked the look of the cards in the background. Examples of cards: inside jokes, family photos, quotations, clippings from magazines that describe that person.
  3. glue items on cards leaving space for a hole to be punched in the corner.
  4. punch a hole in the same corner of each card, once finished put your cards in order and bind them together. I used a binder ring, ribbon or string would work too.
  5. make a cover for your book. I used one of the jokers.
  6. give to mom!
COVER OF BOOK

MY MOM LOVES ZUMBA.

I USED WORDS THAT DESCRIBE MY MOM

RETRO PICTURES OF YOU AND MOM ARE ALWAYS A WINNER.


Sunday, April 14, 2013

Earth Day Project

Since Earth Day is coming up I've decided to do a whole week of Earth Day projects with my students. after searching Pinterest I came across an idea that I knew was doable for my classroom: a BOTTLECAP/RECYCLED LID MOSAIC of the world. I've been saving bottle caps/lids/various materials for almost a year now thinking I'd find some use for them, and I have!

My plan is to have my students work in small groups to create the mosaic. groups of 2 or 3 will work on it while the others are working on something else, then halfway through I'll switch so everyone gets a chance. My plan is to have the earth finished before Earth Day (April 22nd) so its ready to go and be hung up on my bulletin board for display. My #1 goal is to not purchase any materials for the earth. so far I've kept with that goal w/ the exception of purchasing hot glue sticks.

MATERIALS:
- Cardboard circle for the Earth
- Hot glue gun and glue sticks
 - Blue/Green Recyclables
   *I used all kinds of materials for the land and water: caps, lids, beads, broken crayons, plastic bottle pieces (cut up), a cut up old t-shirt, round glass stones, glass mosaic pieces, buttons, dried out markers, cut up gift bag, cardboard pieces from blue and green packages... anything goes for this project but keep in mind that the more objects that are added, the heavier the earth will be.


I drew the outlines of the continents.
As you can see I didn't have space for all continents.
*I did a sample section so the students would know what to do.


A close up of my sample section. I colored in parts of the ocean
where I thought it'd be difficult for the students to distinguish between land and water.


The latest stage of the mosaic process. I've been having
students work in one small area and work their way outward.
ENJOY!